


Passwords are from the last century, so you have to know how to configure SSH keys in a secure way which is not that obvious in some cases.
I will show you how to generate keys, what are the types of algorithms, how to properly configure ssh-agent and finally how to push your first commit to GitHub without using old school password.
What is SSH protocol?
The Internet is built on protocols and each one helps us to achieve different things. One of the most commonly used is SSH protocol which provides an encrypted connection between clients like our local computer and server which is GitHub server in our case.
What are SSH keys?
SSH keys are a pair of cryptographic keys used to establish a secure connection with SSH protocol. You can use SSH keys for automating logins, single sign-on, and for authenticating hosts using SSH protocol.
There are always 2 keys: public and private. We will learn more about it later. For now remember: Never share the private keys! Keep it locally on your computer with restricted permissions (chmod 600).
What good is there?
It eliminates the risk of password guessing or brute-force attacks, because we don’t use passwords anymore
We share only the public key and even if an attacker obtains the public key we are still safe as long as our private key is protected
It’s an easy and secure way to manage access to servers using automation for a larger group of people.
We don’t have to type passwords. Once we add key to ssh-agent we can use it all day long without additional work.
SSH journey begins here…

How to generate SSH key pair?
First things first. We need the keys and we can create them with ssh-keygen tool. All you need to know about ssh-keygen as a standard user is it’s a tool that we use to create new authentication key pairs for SSH.
Open a terminal and type ssh-keygen command that will generate your key.
By default ssh-keygen tool will generate key using RSA algorithm:
% ssh-keygen
Generating public/private rsa key pair.
We don’t want it. Why?
Let’s talk about the algorithm
SSH-keygen can generate for you SSH keys with the algorithm you choose. But which one should you choose? Here is a mini explanation of this:
RSA (Rivest–Shamir–Adleman) — most popular algorithm, used by default in ssh-keygen, but I doesn’t mean it’s perfect for each case. Some hardware supports only RSA with key sizes of 2048 bits, so you don’t have any options for using this shorter key. 2048 is less resources consuming than 4096, so actually sometimes it’s a good choice when we want the connection to be more light and quick. However, if possible try to use the longer, 4096 bits key, which is much stronger.
ECDSA (Elliptic Curve Digital Signature Algorithm) — this one provides us strong security with shorter key lengths than eg. RSA. You can use ECDSA with key sizes of 256 bits or higher and it’s still more secure than RSA with high key sizes like 2048. Good choice for systems where we have limited bandwidth and resources, because thanks to the smaller key size it’s not consuming as many resources.
Ed25519 — it’s considered a very secure and efficient algorithm. It’s using fixed key size which means it’s always the key size is always 256 bits or 32 bytes. Quite short, which means it’s not consuming lots of resources. This is the one we should use to connect with servers like GitHub using SSH protocol.
X.509 Certificates — usually used to secure SSL/TLS communication eg. to connect web servers and clients, but can be used for other cases as well.
DSA (Digital Signature Algorithm) — why do I even mention this one? Just don’t use it. It’s not secure and you have much better options than this one.
Ok, so we decided to use the strong ed25519 algorithm. We can use this command instead and answer each question that is prompted in the terminal:
%  ssh-keygen -t ed25519
Generating public/private ed25519 key pair.
Enter file in which to save the key (/Users/<username>/.ssh/id_ed25519): /Users/<username>/.ssh/id_ed25519_github
Enter passphrase (empty for no passphrase): <type_you_password>
Enter same passphrase again: <again_type_you_password>
Your identification has been saved in /Users/<username>/.ssh/id_ed25519_github
Your public key has been saved in /Users/<username>/.ssh/id_ed25519_github.pub
The key fingerprint is:
SHA256:MuWk/ctkK21nlsjdfhuderu+sfkfskkeuwi8jf
The key's randomart image is:
+--[ED25519 256]--+
|          +. E   |
|         o 9=    |
|        o..8++ . |
|       *  *++ o  |
|      + t.+=..   |
|       o o=*+. o |
|         o*++.. +|
|        .++=. .o.|
|         o+.oo.. |
+----[SHA256]-----+
Yay, we’ve generated our first SSH key pair which is containing:
private key -> id_ed25519_github
public key -> id_ed25519_github.pub
Remember! You only share PUBLIC KEY, never private key! If someone will get access to both keys then you are bamboozled. In such case you should quickly generate a new key pair and set up it once again.
How to add a public key to GitHub account?
We want to connect our local computer with GitHub server where we will push our code. To make it work we need a private key on local computer and public key on GitHub server.
Login to your GitHub account and go to https://github.com/settings/keys. You should see SSH and GPG keys section on your GitHub account:
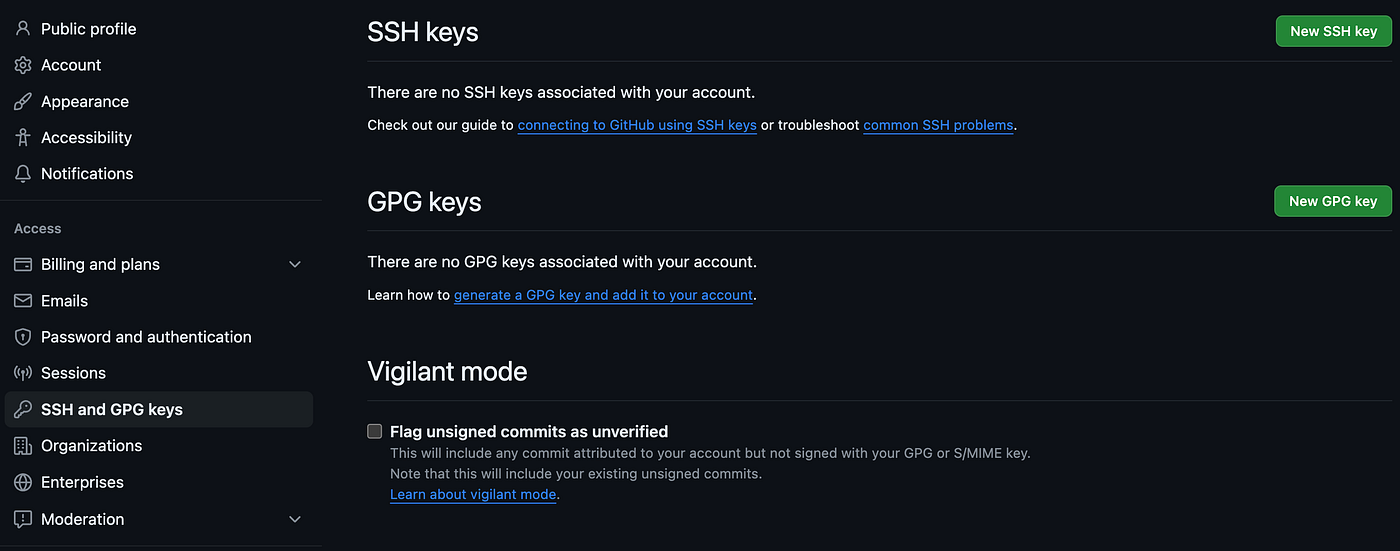
Click on New SSH key green bar and you should be forwarded to this page where you can add the content of your public key id_ed25519_github.pub
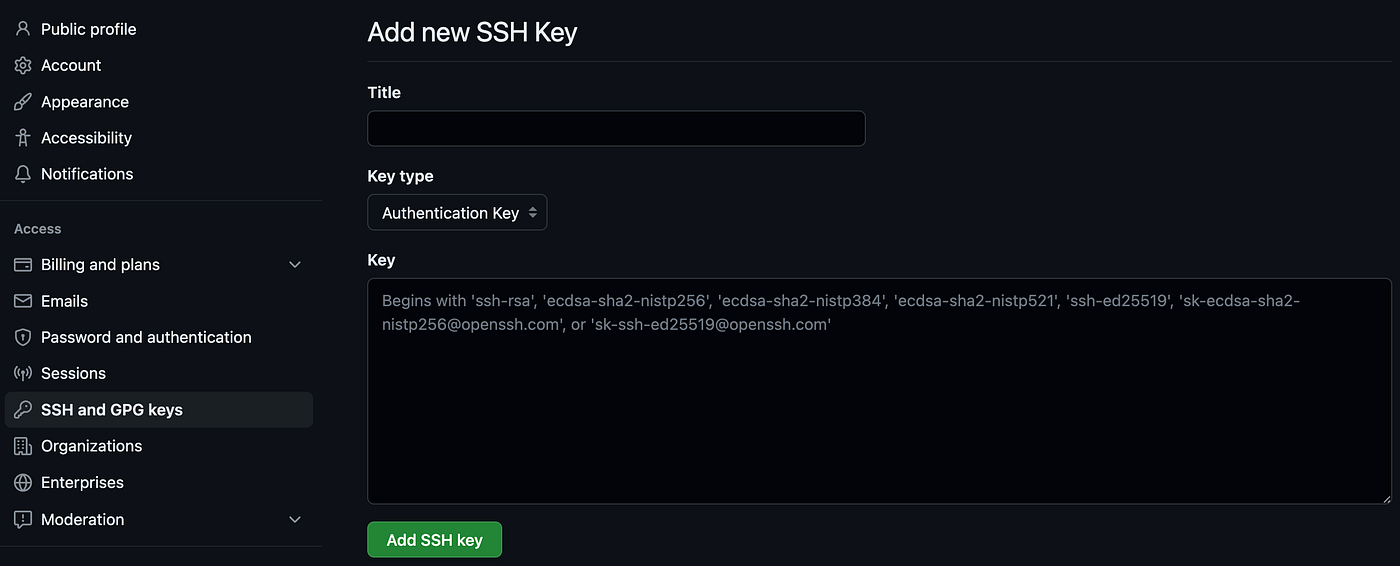
Just paste the public key in Key section, give it a name in Title section like eg. id_ed25519_github and confirm with Add SSH key green bar.
Great! Key added in GitHub server side, but we still need to do something on our local computer to make it work.
SSH agent configuration
SSH-agent is a tool for managing SSH keys. We will use it to finalize our process of configuring a secure connection with SSH key.
Start an ssh-agent
Use this command to start the ssh-agent process:
% eval "$(ssh-agent -s)"
Agent pid 70794
Configure /.ssh/config file
Each tool has its configuration file. SSH configuration is kept in ~/.ssh/config and /etc/ssh/ssh_config . Configuration located in has higher priority, so we choose this one to update.
Check if you have this file and if not then create one like this:
sudo vim ~/.ssh/config
Here is what the final version should look like:

Read more about SSH config files here: ssh.com/academy/ssh/config
Add private key to ssh-agent
% ssh-add ~/.ssh/id_ed25519_github
You can check all loaded keys with this command:
% ssh-add -l
Test if the connection with GitHub server is properly handled with your keys.
% ssh -T git@github.com
Hi! You've successfully authenticated, but GitHub does not provide shell access.
Great! It’s working! You should be good to go and be able to push code to a remote repository in GitHub.
What if GitHub still asks for a password?
You set up properly SSH keys, tested successfully the connection with ssh -T, but when you try to run git push command it’s still asking you for a username and password?
Check what’s inside of .git/config file. It’s located in the root of the directory with the code you are trying to push to repository. Go to section [remote “origin”] in .git/config and check URL variable.
% cat .git/config
[core]
 repositoryformatversion = 0
 filemode = true
 bare = false
 logallrefupdates = true
 ignorecase = true
 precomposeunicode = true
[remote "origin"]
 url = https://github.com/<username>/<repo_name>.git
 fetch = +refs/heads/*:refs/remotes/origin/*
[branch "main"]
 remote = origin
 merge = refs/heads/main
Yeah, looks like the URL is github.com<username>/<repo_name>.git. It’s a type of URL used when we authenticate via HTTPS protocol using username and password.
But we want to authenticate via SSH protocol using SSH keys, so we should use a dedicated URL format which is git@github.com:<username>/<repo_name>.git.
Update the URL and rerun git push once again. Should work now!